In today’s increasingly digital world, artists of all types are looking for innovative ways to share and showcase their creative work. Whether you’re a painter, illustrator, or mixed media artist, having a digital portfolio is essential. One of the best ways to transition from physical to digital artwork is by using a reliable scan app. In this guide, we will walk you through the process of scanning your art, organizing it into a cohesive digital portfolio, and using these digital versions to elevate your presence online and in the art world.
Artists often ask: why should I digitize my art? The answer is simple—accessibility and preservation. Digital portfolios allow artists to easily share their work with galleries, potential clients, or even fans across the globe. By scanning your artwork, you make it easier to distribute, display, and preserve for years to come. Plus, scanning ensures that high-quality images of your work are always available, allowing you to reproduce or archive them with ease.
Moreover, a well-constructed digital portfolio offers an efficient way to present your art in professional settings. From submitting to galleries and competitions to applying for grants and commissions, a digital version of your work often speaks volumes in the art world.
Thankfully, modern scan download app options make this process smoother than ever. These apps provide high-resolution scanning capabilities directly on your mobile device, allowing you to capture every detail of your artwork with minimal effort. Whether you’re scanning small drawings or larger pieces, the right tools can make a significant difference in how your art is represented digitally.
The first step in digitizing your artwork is choosing the right scan app for your needs. There are plenty of apps available on both iOS and Android platforms, many of which are free or offer premium features. You’ll want to find a tool that supports high-resolution image capture, provides editing capabilities, and allows for easy file organization.
Look for an app that offers easy-to-follow instructions for scan app setup, ensuring that you can quickly start digitizing your pieces. Some apps allow you to adjust settings like resolution and color balance, which is particularly important when capturing the fine details and colors of your work.
Additionally, consider using the ScanMe app, which is designed specifically for digitizing artwork with high-quality image capture and editing features. ScanMe supports multiple file formats, including JPEG and PDF, making it an excellent choice for customizing your portfolio based on where you plan to showcase your work. Its user-friendly interface and adjustable settings allow you to capture the fine details and colors of your pieces effortlessly, ensuring your art looks its best. With ScanMe, you can easily scan, edit, and save your artwork in the formats that work best for you and your audience.
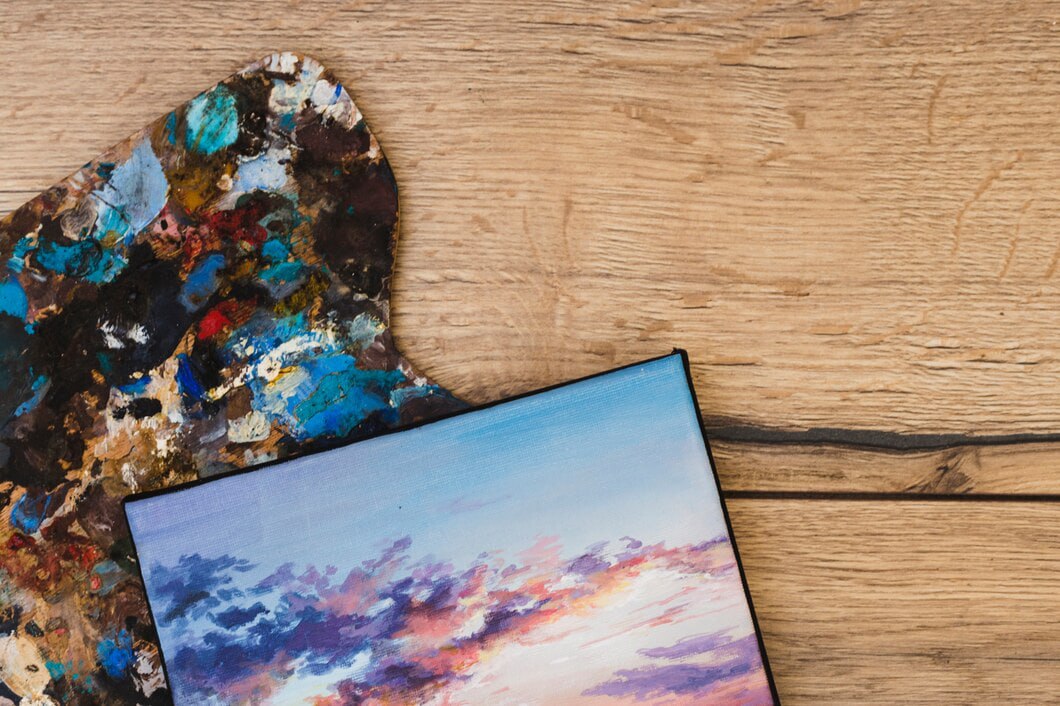
Before you begin scanning, it’s crucial to properly prepare your artwork. Start by ensuring your work is clean and free of dust or debris, as even small particles can affect the final scan quality. For flat pieces like drawings or paintings on paper, lay the artwork on a smooth, flat surface to avoid any distortions during scanning.
If you’re scanning larger canvases or three-dimensional work, positioning becomes even more critical. Consider using a flatbed scanner or your phone’s camera, but make sure the lighting is adequate and even. Good lighting helps capture the depth, texture, and true colors of the artwork, ensuring a more accurate digital representation.
If your art has reflective surfaces (such as glossy paints or metallic accents), you may need to adjust your lighting setup to minimize glare. Some scan apps also offer image enhancements to compensate for uneven lighting or color issues, making it easier to create a professional-quality digital version of your art.
Once your artwork is prepared, it’s time to start scanning. Using the scan app, position your device over the piece and follow the app’s on-screen instructions. Most apps allow you to adjust the frame, zoom in on specific details, or capture the entire piece in one scan. For larger pieces, consider scanning in sections and stitching them together using photo editing software.
Ensure that you capture the highest possible resolution, as this will be important when showcasing your work in a digital portfolio. Higher resolution scans allow viewers to zoom in and appreciate the finer details of your art. If your app has color correction or image enhancement features, take advantage of these to ensure the final scan closely matches the original.
Many modern apps also offer cloud integration, allowing you to automatically back up your scanned images. This not only safeguards your digital copies but also makes it easier to organize them for later use. Save the scans in multiple formats, such as JPEG for sharing and PDF for professional submissions or presentations.
Once the scan is complete, it’s time to fine-tune the image. Most scan apps come with built-in editing tools that allow you to crop, rotate, adjust brightness and contrast, and apply filters. These tools are essential for correcting any minor imperfections or enhancing certain aspects of your art that may not have scanned perfectly.
When editing, be mindful of color accuracy, especially if you plan to use these digital files for professional purposes. Some apps include advanced color correction options that allow you to match the colors of your scan to the original artwork. This ensures that your portfolio accurately reflects the work you’ve created, down to the smallest hue.
If you’re planning to upload your work to online platforms, resize the images to optimize them for web viewing without losing quality. For larger files, consider compressing them while maintaining high resolution, making your portfolio accessible and loadable across different devices.
After scanning and editing your artwork, the next step is organizing it into a cohesive digital portfolio. A well-organized portfolio is key to showcasing your range as an artist. Consider categorizing your work based on medium, theme, or project. For example, you could have sections for “Paintings,” “Sketches,” or “Mixed Media.”
Make sure to label each file appropriately, including the title of the piece, the medium used, and the year it was created. This will make it easier for you to find specific pieces later and ensure that your portfolio has a professional appearance.
Many artists also choose to create digital presentations or PDF portfolios using their scanned work. These can be shared via email or hosted on personal websites, allowing for easy access by galleries, clients, and potential collaborators. When using a scan download app for organizing, check if it offers folder management or cloud sync capabilities to keep your files neatly sorted and accessible at all times.
Now that your artwork is digitized and organized, it’s time to share it with the world. Having a digital portfolio allows you to reach a wider audience and showcase your work to potential buyers, galleries, or collaborators without the limitations of physical space. By using your scanned images, you can create an online portfolio through websites like Behance, DeviantArt, or your own personal website.
Many online platforms allow you to create galleries that highlight specific collections or themes within your work. By uploading high-resolution scans, you can ensure that your portfolio stands out and captures the attention of viewers. Additionally, sharing your portfolio via social media platforms like Instagram, Twitter, and Facebook allows you to engage directly with fans and fellow artists.
If you’re submitting to competitions or applying for residencies, many institutions prefer digital portfolios in PDF format. By leveraging the capabilities of your scan app setup, you can create professional-looking PDFs that are tailored to the specific requirements of each application.
Finally, digitizing your artwork is not only beneficial for sharing and showcasing, but also for long-term preservation. As any artist knows, physical works can deteriorate over time due to factors like light exposure, moisture, or handling. By creating high-quality digital scans, you create a permanent record of your work, safeguarding it from potential damage.
Use cloud storage or external hard drives to back up your digital portfolio. This ensures that you have access to your work no matter what happens to the original pieces. Additionally, having a digital archive allows you to revisit older works for inspiration or reproduction in the future.
Many artists also choose to print high-quality copies of their scanned artwork for exhibitions or sale. By ensuring your scans are top-notch, you’ll be able to produce prints that capture the essence of your original pieces, providing additional avenues for income and exposure.
Whether you’re an established artist or just starting out, scanning your artwork is an essential step in building a professional digital portfolio. With the help of modern scan apps, you can digitize your pieces quickly, ensuring that your work is preserved, organized, and ready to share with the world. From proper scan app setup to editing and archiving your files, the process of digitization provides numerous benefits for artists looking to expand their reach and impact. So why wait? Download a scan download app today and start building your digital portfolio with ease.