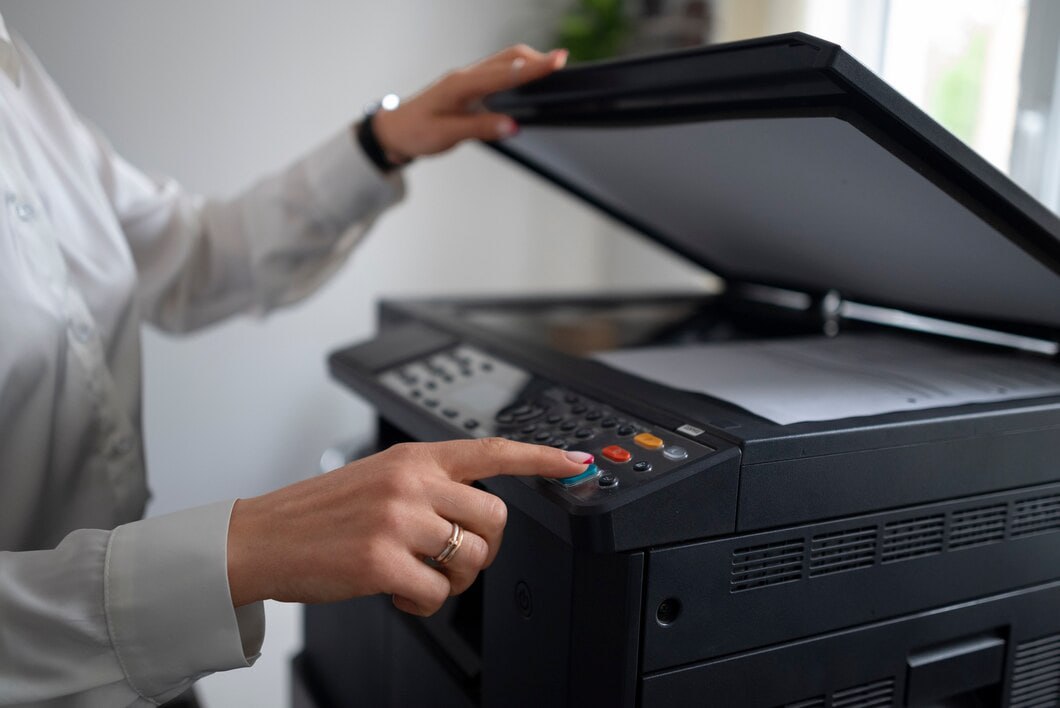
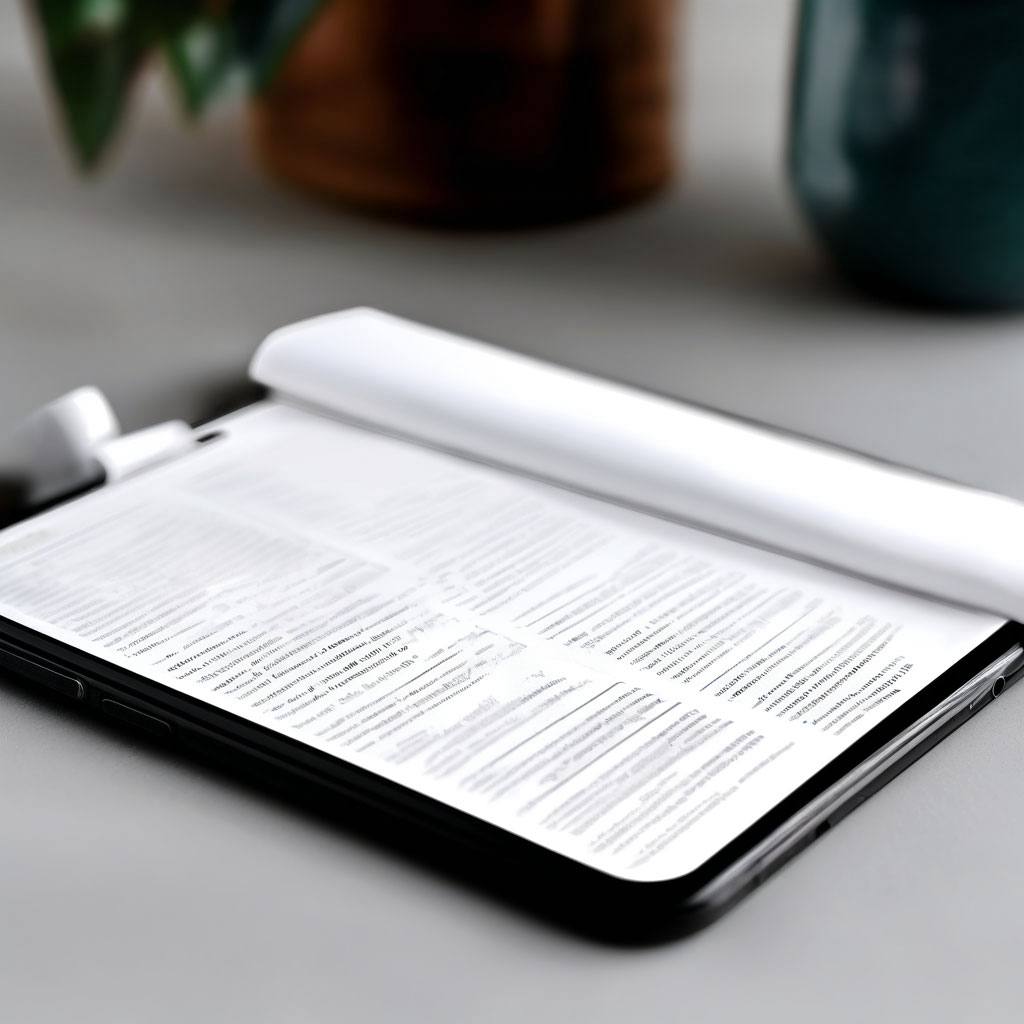
With modern smartphones equipped with powerful scanning capabilities, a scan app can transform your mobile device into a versatile tool for digitizing documents, photos, and more. However, when setting up your scan download app or exploring scan app setup options, one crucial decision awaits: should you use the manual mode or the automatic mode for scanning? Both modes have their advantages, and the choice depends on your specific needs and circumstances. Let’s dive into the benefits of each mode and explore when it’s best to opt for one over the other.
Most scan apps offer two primary scanning modes: manual and automatic. The manual mode allows you to have complete control over every step of the scanning process. You manually adjust the camera, focus, and alignment to capture the perfect scan. On the other hand, automatic mode uses advanced algorithms and AI to detect the edges of the document, adjust lighting, and capture the scan with minimal input from the user.
The choice between these modes is important because it influences not only the quality of your scans but also the speed and convenience of the entire process. Each mode has specific strengths that may make it more suitable for certain tasks. To get the most out of your scan app setup, it’s essential to understand which mode is best for different scanning scenarios.
Manual scanning mode is ideal for users who prioritize precision and control. In this mode, you can manually adjust all aspects of the scanning process, from framing the document to controlling the focus and brightness. This is particularly useful when scanning complex or unevenly lit documents, where automatic mode may struggle to deliver the perfect result.
One of the key benefits of manual mode is that it allows you to scan non-standard materials. Whether you’re trying to capture handwritten notes, artwork, or an unusually shaped object, manual mode lets you take your time to adjust angles and ensure that the scan is as accurate as possible. Additionally, you can manually fine-tune the image settings for brightness, contrast, and sharpness, allowing for a high level of customization.
Manual scanning is also the preferred option when scanning fragile documents, such as old photos or delicate papers. With manual mode, you can be cautious about how you handle the documents, ensuring you don’t rush the process or apply too much pressure. This can result in clearer and more accurate scans without damaging the original material.
Here are a few scenarios where manual mode may be the best choice:
If you value customization and control, manual scanning mode can provide a tailored approach that ensures each scan meets your expectations, no matter the type of document or image you’re capturing.
Automatic scanning mode is designed for speed and simplicity. Using a scan app in automatic mode is a great solution for those who need to quickly scan multiple documents or perform high-volume scanning tasks. The app’s AI-powered technology detects the edges of the document, adjusts lighting, and captures the scan automatically. This not only speeds up the scanning process but also reduces the effort required on your part.
One of the main advantages of automatic mode is its ease of use. For most standard documents—such as forms, contracts, or simple text documents—automatic mode provides excellent results without requiring manual adjustments. The scan app setup in automatic mode ensures that the app will quickly identify the document’s boundaries and optimize the scan quality, making it ideal for users who need efficiency and speed.
Automatic scanning also excels in multi-page scanning tasks. If you need to scan a long report, book, or stack of papers, automatic mode enables you to capture each page quickly without having to adjust the settings for each individual scan. The app takes care of the processing, allowing you to focus on the task at hand.

Automatic mode is the preferred choice in scenarios where time is of the essence, or when the documents are standard in size and shape. Here’s when you might opt for automatic scanning mode:
Whether you’re scanning a single page or an entire booklet, automatic mode provides a reliable and quick option for getting the job done. For users who prioritize efficiency, automatic mode ensures that even complex documents are handled with ease.
When deciding between manual and automatic scanning modes, it’s essential to consider both quality and convenience. Manual mode gives you full control and the ability to adjust every detail of the scan, but it may take more time and effort. Automatic mode is quicker and more convenient, but in some cases, it may struggle with non-standard materials or lighting conditions.
If you frequently switch between different types of documents, many scan apps allow you to alternate between manual and automatic modes seamlessly. This flexibility lets you choose the best option for each task. For example, if you’re scanning a stack of standard documents, you can use automatic mode for efficiency. But if you encounter a fragile or complex document, switching to manual mode ensures you can capture the details precisely.
Ultimately, the choice between manual and automatic scanning modes comes down to your personal needs. Both modes are powerful tools in their own right, and a well-rounded scanning app gives you the flexibility to use whichever mode best suits the situation.
Whether you prefer manual or automatic mode, optimizing your scan app setup can enhance your overall scanning experience. Many scan apps come with additional features like Optical Character Recognition (OCR), which can convert scanned text into editable and searchable formats. Adjusting resolution settings, file format (PDF, JPEG), and integrating cloud storage options are also crucial elements to explore in your app’s setup menu.
By taking advantage of these features, you can further refine the quality of your scans while making the storage, sharing, and retrieval of scanned documents more efficient. For users who work in fast-paced environments, customizing the app’s automatic settings can make a huge difference in workflow speed, while those using manual mode can benefit from learning how to adjust brightness, contrast, and color balance for the best results.
When deciding between manual and automatic scanning modes, consider your specific needs and the types of documents you regularly work with. Manual mode offers precision and control, making it ideal for complex, delicate, or non-standard materials. Automatic mode provides speed and convenience, perfect for high-volume tasks and standard documents.
With the right scan download app, you don’t have to choose just one. A good app will allow you to switch between modes depending on the situation, ensuring you always get the best results. So whether you need to scan artwork, old photos, or a pile of receipts, understanding how to use both manual and automatic scanning modes will help you digitize your world with ease.